
Whether you are working on a new machine or an old one, backing up the application and any working memory is critical for uptime and emergencies. Combine that with Fuji Electric’s excellent replacement pathway (going back to the 90s), and having the application in hand in case of machine failure or damage saves precious work hours.
In this blog, we will cover the various types of data that can be backed up from a Fuji Electric HMI and how exactly to go about backing them up.
There are three files that you can upload from the HMI: Screen Data, SRAM Data, and the INI File. Screen Data is the application file. SRAM data is the data stored in non-volatile memory, which is not always utilized in all applications. Finally, the INI File saves the Local Mode settings of the HMI, such as IP addresses, Backlight settings, and Users.
Fortunately, all Fuji Electric HMIs for almost two decades now support USB transfer, be they the TS1000, TS1000S, TS2000, TS4000, V8, V9, or V10 series of HMIs. Going further back, some of the V7 HMIs support USB transfer as well, such as the 6” and 15” models. Some V7 HMIs also boast Ethernet communications, allowing transfer via Ethernet. It is recommended that you purchase a V-CP serial cable for communicating with any HMI in the V6 and the majority of the V7 series. For the V4 and GD80 series, a further adapter, the ADP25-M, is required.
For this case, we will be using Smart Editor for uploading the data, but the process is much the same in V-Sft 6.
Using Smart Editor to Back Up HMI Data
Ok, now go ahead and plug in the transfer cable, USB in this case, and power on the HMI. Now open Smart Editor and go to Transfer >> Transfer >> Upload as shown in the snippet below.
![]()
Select Upload to open the transfer menu for moving data from the HMI to the PC. You should now see the pop-up screen below.

First, select “Screen Data” from the Transfer Data drop-down shown below.
Then click the “PC <-” button to upload the data.
In the case of screen data, go to File, and then Save to save the file. Repeat the process for SRAM Data and IniFile. These file types will open a save file dialogue automatically on upload, as they are not editable in Smart Editor or V-Sft.
With those files saved, you now have a backup of your HMI as it is on your machine.
Now, let us go through the process of moving all the configurations and data down to your HMI. We will start with a V9080iSD with a screen like this:
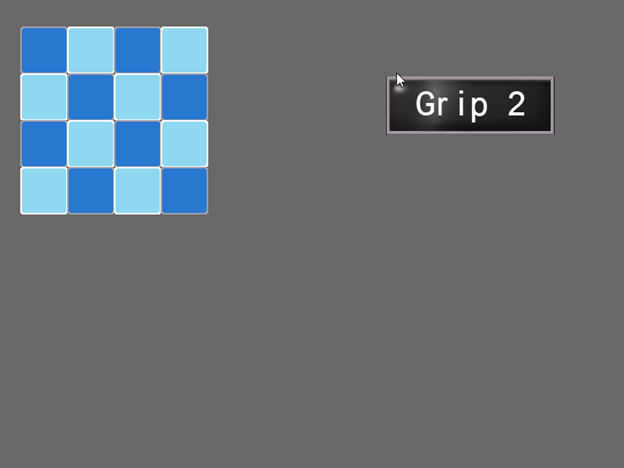
All the objects on the screen are using SRAM for storage, so we will be able to back them up. We will now go through the process of uploading the application as detailed in the first half of this article.
Then we will upgrade and transfer the file to a fresh V1008iSD HMI but be prepared to immediately receive “Error: 163(SRAM:6)”. This is because the SRAM is unformatted.
With that cleared, we will enter the application to find this screen:
![]()
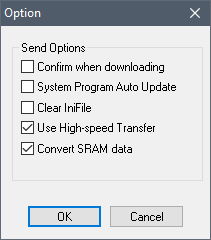
Because the HMI doesn’t have our SRAM data, the saved data is gone. Let us now transfer the SRAM data down by selecting SRAM Data in the Download window, then select Option…, Convert SRAM data, and OK.
Now click the PC-> button.

We can now see that the saved SRAM values have been downloaded

Now, onto the INI File, which is saved as a BIN file, transferring that over will bring in all of your Local mode settings, such as Network Table, Users, Backlight, and Buzzer settings.
Thank you for reading our blog. To see this process in action, check out our video on YouTube. Interested in learning more? Be sure to subscribe to this blog to stay up to date on critical technology integration processes.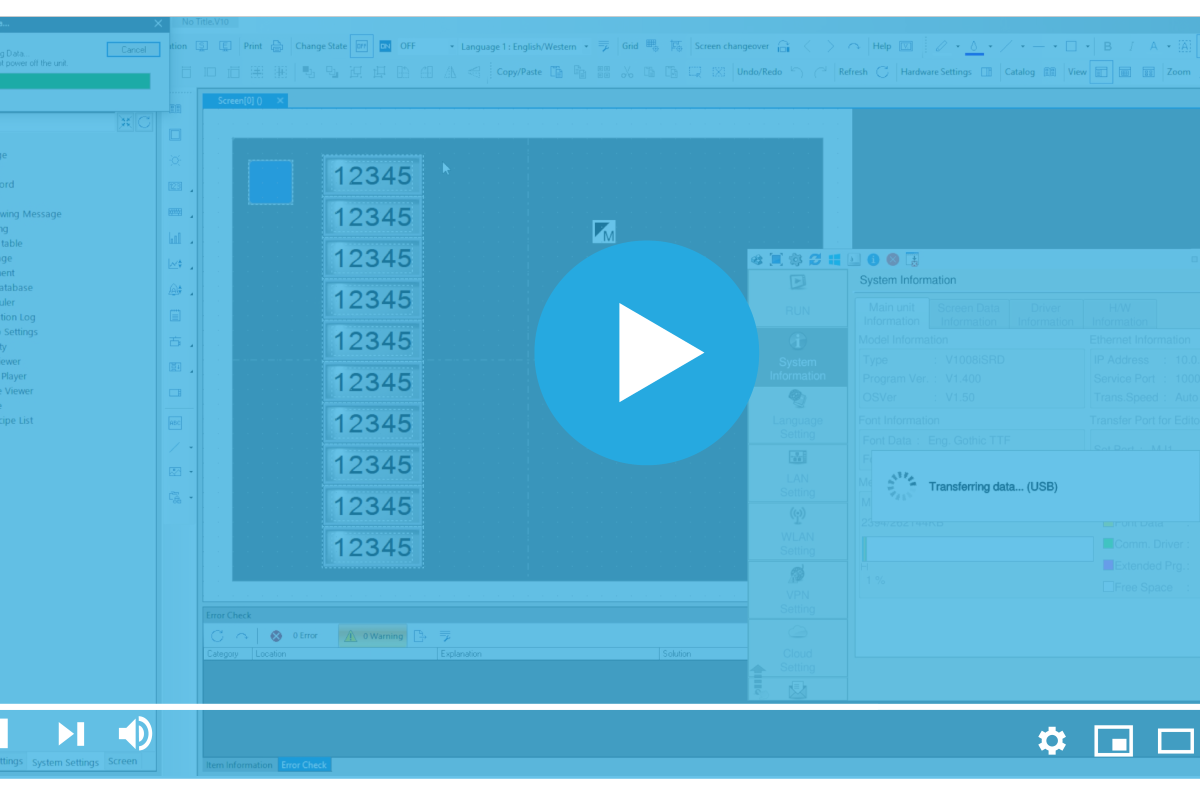
0 comments